Customize Consent Preferences

We use cookies to help you navigate efficiently and perform certain functions. You will find detailed information about all cookies under each consent category below.

The cookies that are categorized as "Necessary" are stored on your browser as they are essential for enabling the basic functionalities of the site. ... 

Always Active

Necessary cookies are required to enable the basic features of this site, such as providing secure log-in or adjusting your consent preferences. These cookies do not store any personally identifiable data.

Functional cookies help perform certain functionalities like sharing the content of the website on social media platforms, collecting feedback, and other third-party features.

No cookies to display.

Analytical cookies are used to understand how visitors interact with the website. These cookies help provide information on metrics such as the number of visitors, bounce rate, traffic source, etc.

Performance cookies are used to understand and analyze the key performance indexes of the website which helps in delivering a better user experience for the visitors.

No cookies to display.

Advertisement cookies are used to provide visitors with customized advertisements based on the pages you visited previously and to analyze the effectiveness of the ad campaigns.

No cookies to display.

VM2: Example Installation

Here's how to access the default VM2 installation, freely available on Amazon Web Services

1.  Sign Up for a free Amazon Web Services Account

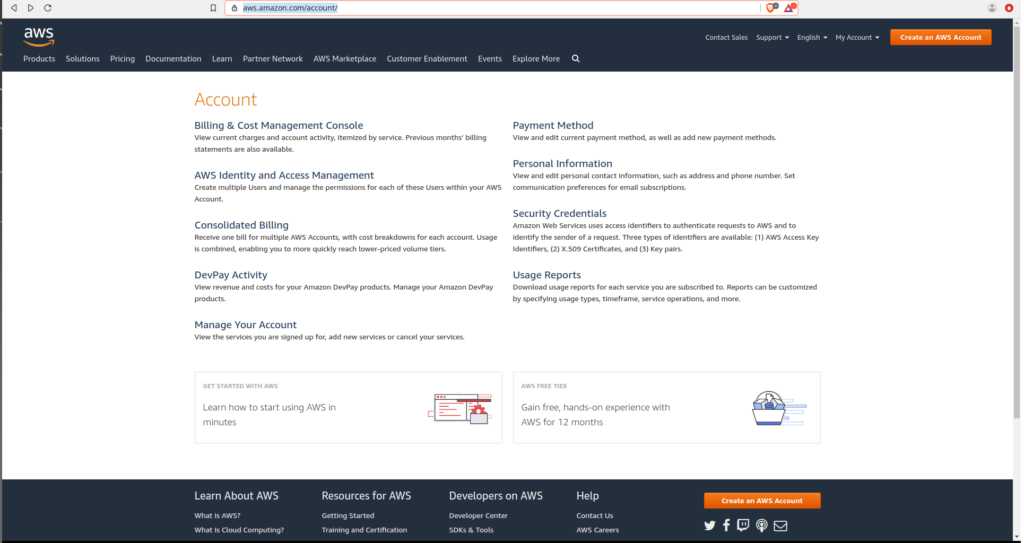
Sign up for an Amazon Web Services account at https://aws.amazon.com/account/ and get 1 free year of virtual machine time on their smallest instances, which are large enough to explore the VM2 installation.

2.  Start a virtual machine on Amazon’s EC2 compute service

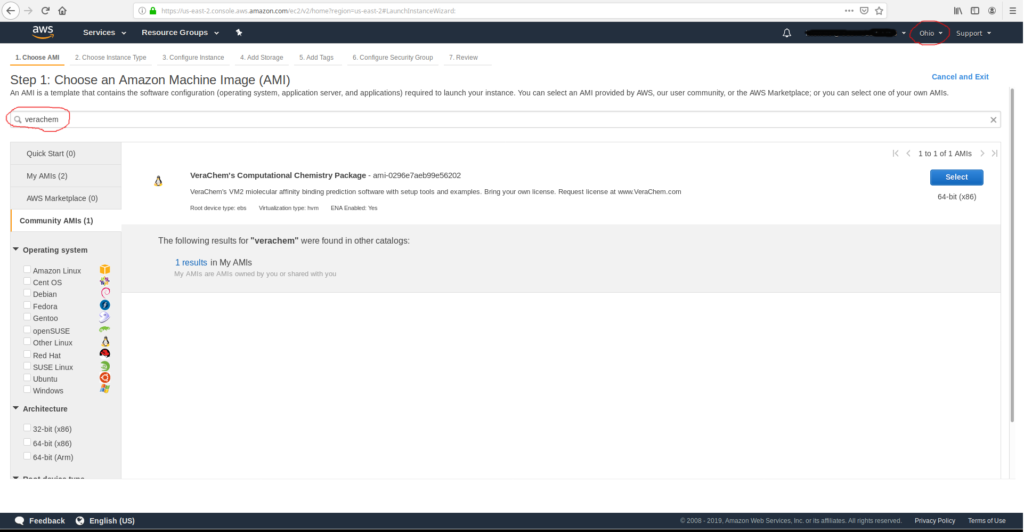
  • Login and go to the US-Ohio region.
  • Click on ‘Launch Instance’.
  • Select ‘Community AMIs’.
  • Enter ‘verachem’ in the search box, Amazon should return a link to ami-0296e7aeb99e56202.

3.  Configure the VM for your requirements

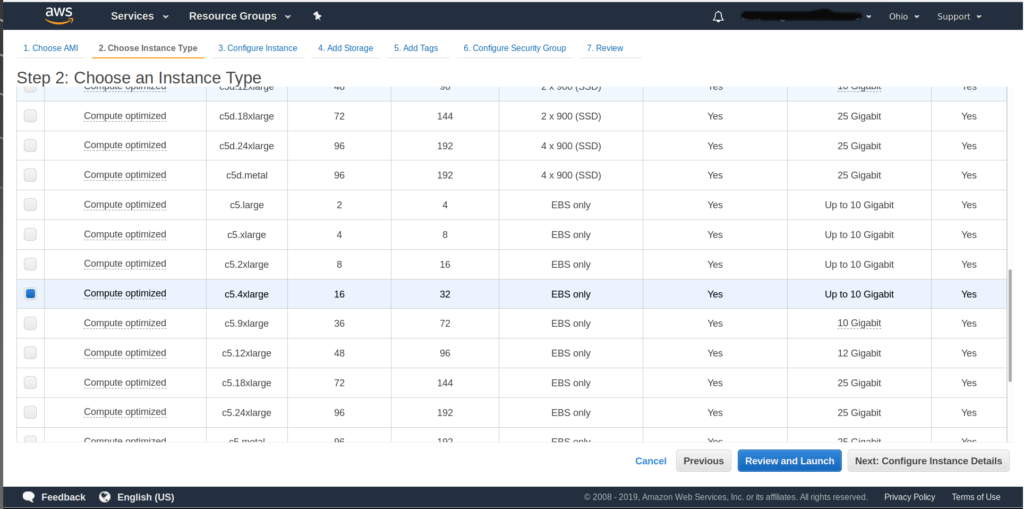
  •  Click on ‘Select’, then choose your instance type, the free t2-micro type is enough to explore the installation, but not to run calculations. Try a C5 type instance for production runs.
  • Click ‘Review and Launch’.

4.  Login and run

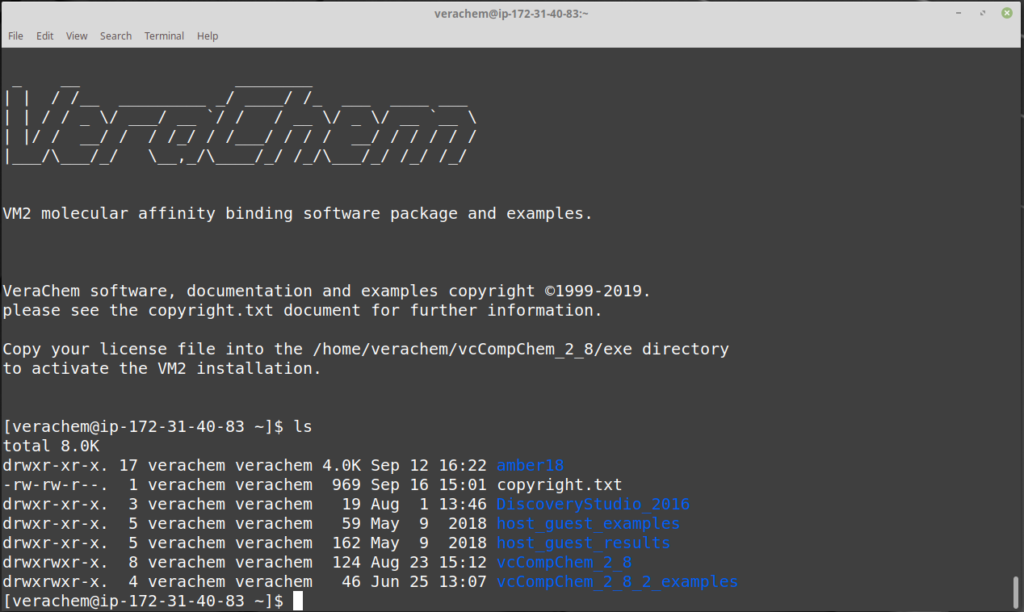
  • Once the instance is shown as ‘available’, click the ‘Connect’ button to get an example ssh command to connect.
  • Copy and paste the ssh command into a terminal window, replace ‘root’ in the command with ‘verachem’
  • Use the password ‘vm2’ to login.
  • Explore the installation and/or upload your license file to run calculations.